Why Your Emergency Assembly Point Needs High-Visibility Signage
In an emergency, seconds matter. Panic, smoke, and darkness can easily obscure standard signage, leaving evacuees disoriented when speed matters most. If your Emergency Assembly Point (EAP) isn’t instantly visible, your evacuation plan fails.

High-visibility signage is the simple solution to this chaotic problem. By ensuring your assembly points are recognizable in low light or from a distance, you ensure accurate headcounts and keep first responders focused on the fire, not the search.
Learn more about why high-visibility signage is a non-negotiable part of your emergency response plan and how to select the right markers for your facility.
What Is an Emergency Assembly Point?
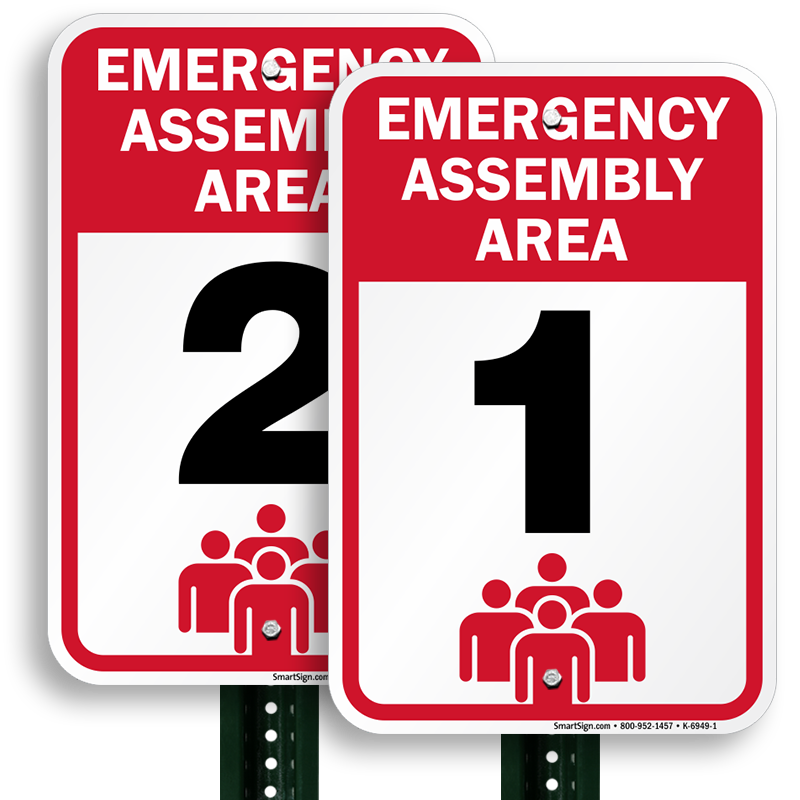
An Emergency Assembly Point, often called a muster point, is a designated safe area where employees and visitors gather after evacuating a building. It serves a vital purpose. It allows safety managers to perform a headcount to ensure everyone has escaped safely. While walking the perimeter of a compliant facility, you should see clear, reflective indicators such as:
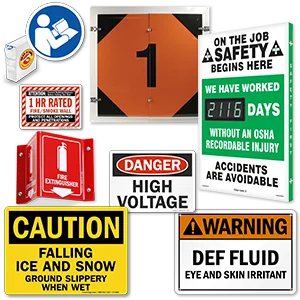
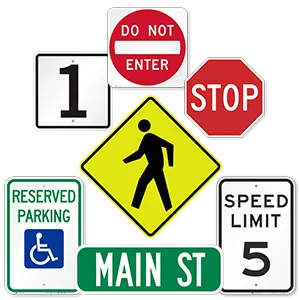
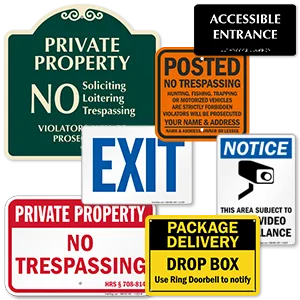
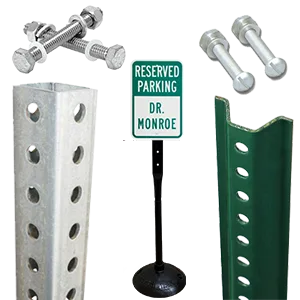
Shop Emergency Signs:
ii) Photoluminescent (Glow) Exit Signs
iii) Assembly Point Signs
iv) Evacuation Maps
3 Reasons Why High-Visibility Signage is Critical
A standard metal sign might be visible on a sunny Tuesday afternoon, but emergencies rarely happen under perfect conditions. Here is why upgrading to high-visibility options is essential.
1. Visibility Through Smoke and Darkness
Fires often produce thick, black smoke that can obscure overhead lights. Furthermore, emergencies frequently trigger power outages. If your evacuation occurs at night or during a blackout, a standard painted sign becomes invisible. High-visibility signs made with retro-reflective materials bounce light back from flashlights or emergency vehicle strobes. Photoluminescent (glow-in-the-dark) signs create their own light source, guiding people even in total darkness.
2. Faster Headcounts Save Lives
The primary goal of an assembly point is accountability. Until every person is accounted for, firefighters must assume someone is still trapped inside. If your assembly point sign is small or faded, evacuees may scatter. This confusion delays the headcount. If the safety manager cannot confirm the building is empty, firefighters may risk their lives entering a burning structure to search for someone who is actually safe outside. A towering, high-vis sign acts as a magnet, drawing everyone to the correct location immediately.
3. Overcoming Panic and Cognitive Tunnel Vision
Psychological studies show that under extreme stress, humans experience “cognitive tunneling.” We lose the ability to process complex information and rely on simple, visual cues. A small text-based sign requires reading. A large, bright green sign with the universal “four arrows meeting” symbol cuts through the mental noise. It triggers an instant recognition response, allowing people to act without thinking.
Tips for Installing Effective Assembly Point Signs
a) Go High: In a crowd, eye-level signs are blocked by other people. Install your assembly point signs at least 7 to 10 feet off the ground so they are visible above the heads of the group.
b) Use Reflective Materials: Always choose “Engineer Grade” or “High Intensity” reflective aluminum. These materials are designed to light up when hit by a beam of light, making them unmissable at night.
c) Consider Solar: For large campuses or remote muster points where hardwired lighting is difficult, consider solar-powered flashing LED signs. These provide active illumination 24/7 without needing an electrician.
Incorporate High-Visibility Signage Into Your Safety Strategy
An evacuation plan is only as good as its execution. Upgrading to high-visibility assembly point signage is a low-cost investment that yields high returns in safety and compliance. It ensures that when the worst happens, your team knows exactly where to go.
Read through some of the other articles published on our blog to get more information on maintaining safety on your worksites.
Frequently Asked Questions (FAQ)
1. What color should emergency assembly point signs be?
A. Green and white is the international standard. According to ISO 7010 and general OSHA best practices, safe condition signs, including assembly points and exits, should feature white symbols/text on a green background. This color code universally indicates safety and “Go,” distinguishing it from red fire equipment or yellow warning signs.
2. How far should the assembly point be from the building?
A. Ideally, at least 1.5 times the height of the building. The assembly point must be far enough away to protect evacuees from collapsing walls, shattering glass, and radiant heat. It should also be located away from fire lanes to ensure it does not block access for incoming fire trucks and ambulances.
3. Do assembly point signs need to be illuminated?
A. Yes, they must be visible in all lighting conditions. While active electric lighting is not always mandatory for the sign itself, the location must be identifiable at night. If the area is not well-lit by streetlights, using retro-reflective signs or photoluminescent (glow-in-the-dark) materials is highly recommended to ensure the point can be found during a power outage.
4. Why is a headcount important during an evacuation?
A. A headcount confirms that the building is empty. If a headcount is inaccurate because people drifted away from a poorly marked assembly point, emergency responders may waste critical time searching the burning building for “missing” people who are actually safe outside. Accurate headcounts protect both employees and firefighters.